I like to use a wool/poly blend batting for quilting. I like the loft it gives and the fact that it has a bit of body to it. I pin basted the layers of the quilt together using the same cream fabric on the back as I used on the front. I was a bit hesitant because it would show every wobble in the quilting stitches but then I thought "just go for it".
The first quilting I did was four long wavy lines in red thread just on the edge of the coloured areas where they border the cream section. I didn't do the pebbles until later though. I didn't mark the lines on the fabric. I made up a freezer paper template. I didn't want to tear off a piece of freezer paper that long, so cut off a 16" piece then cut that into 4 strips, overlapped the ends and dabbed them with the iron to stick them together.

Next was the flowers. This is the flower motif I quilted in the coloured areas of the quilt. I cut the circles for the flower centres out of freezer paper and ironed them to the quilt top. I quilted around them then removed them before finishing the flower petals.


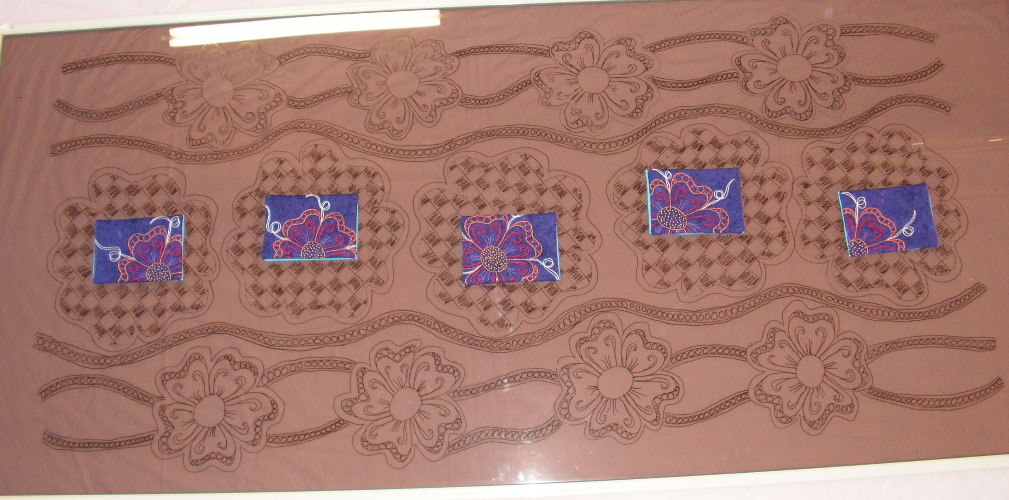
I enlarged the outline of the flower motif to quilt behind the quiltlets, the same as I did in the play piece. I drew the outline on greaseproof paper with water-soluble pen then pinned the paper to the quilt top and quilted through the paper. It's easy to tear off the paper although I had to just scratch over the top of a few little bits that got caught under the stitches. To mark the cross hatching design I used painters tape. It's really low-tack tape and doesn't leave any residue. It can be used several times before it runs out of 'stickability'.

I drew out several different ideas for the background of the cream section then quilted them out on a scrap quilt sandwich, using dark thread just so I could see it a little easier.


While I would have liked to do the mctavishing, it was going to be just too difficult to see. It might be easier to do mini mctavishing on the longarm machine but I haven't tried it yet. I did some little swirly quilting and decided to add a few areas of straight lines to add a bit of interest. The two photos below are before and after adding microstippling to make the checkerboard design in the flower outline.


I decided to do some quilting on the purple quiltlets as they bagged out a bit without it. I used a single strand of embroidery thread to quilt around the main elements in the flowers and echo quilting in the background.

Next post - the final product!